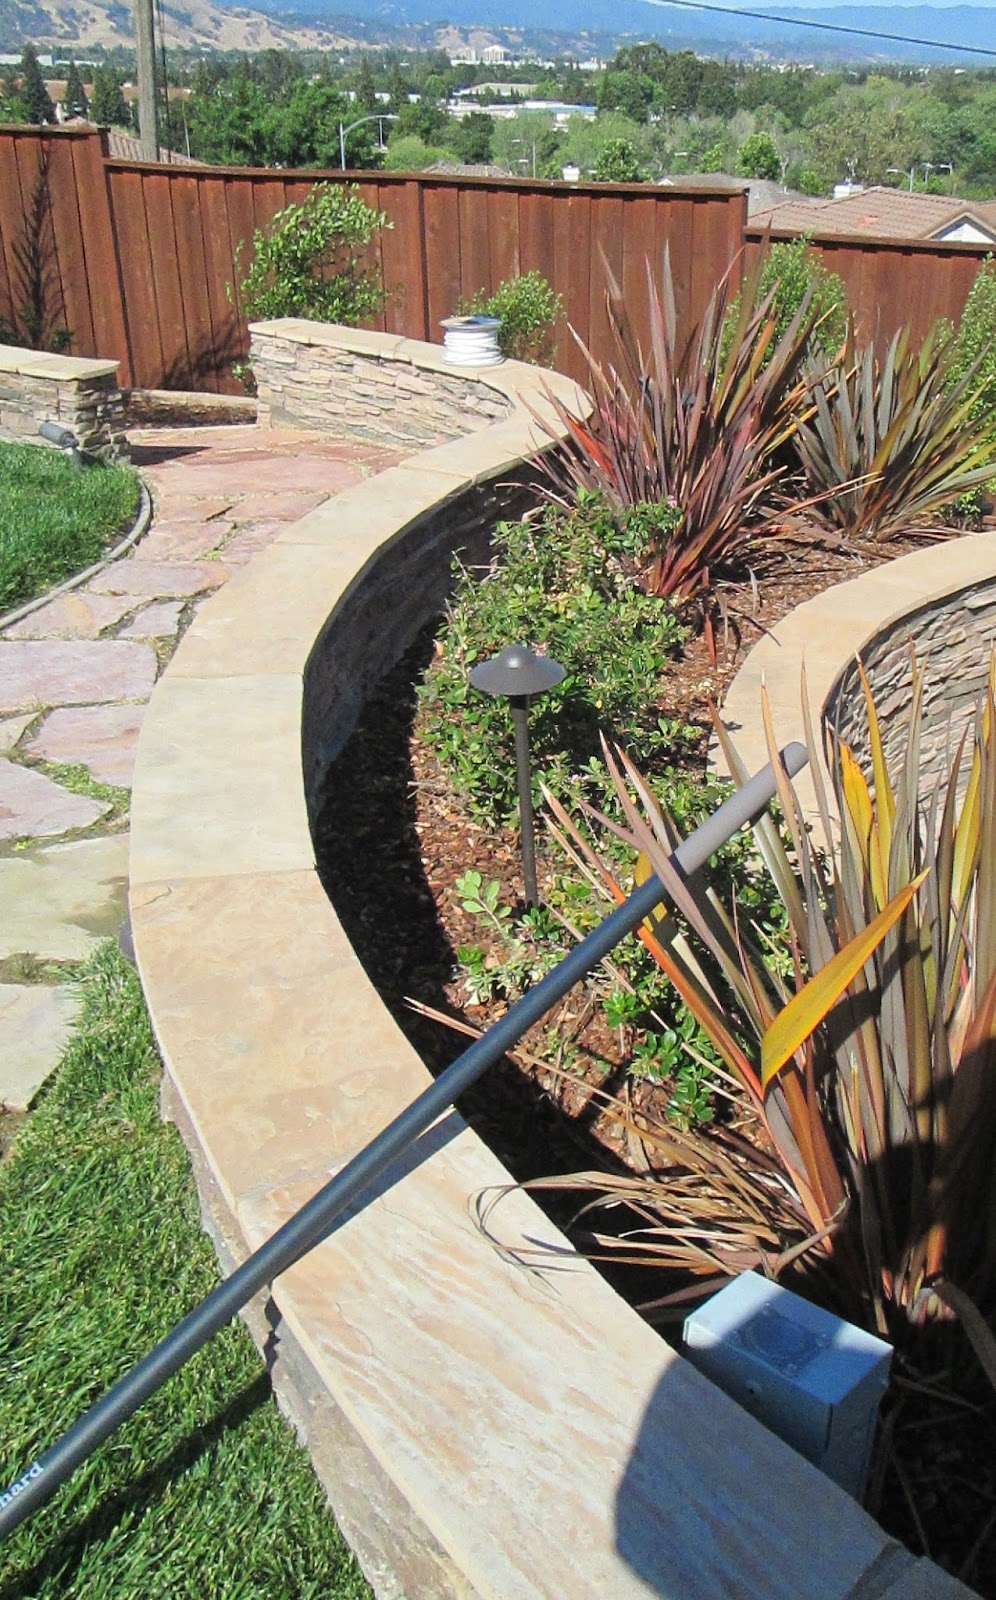
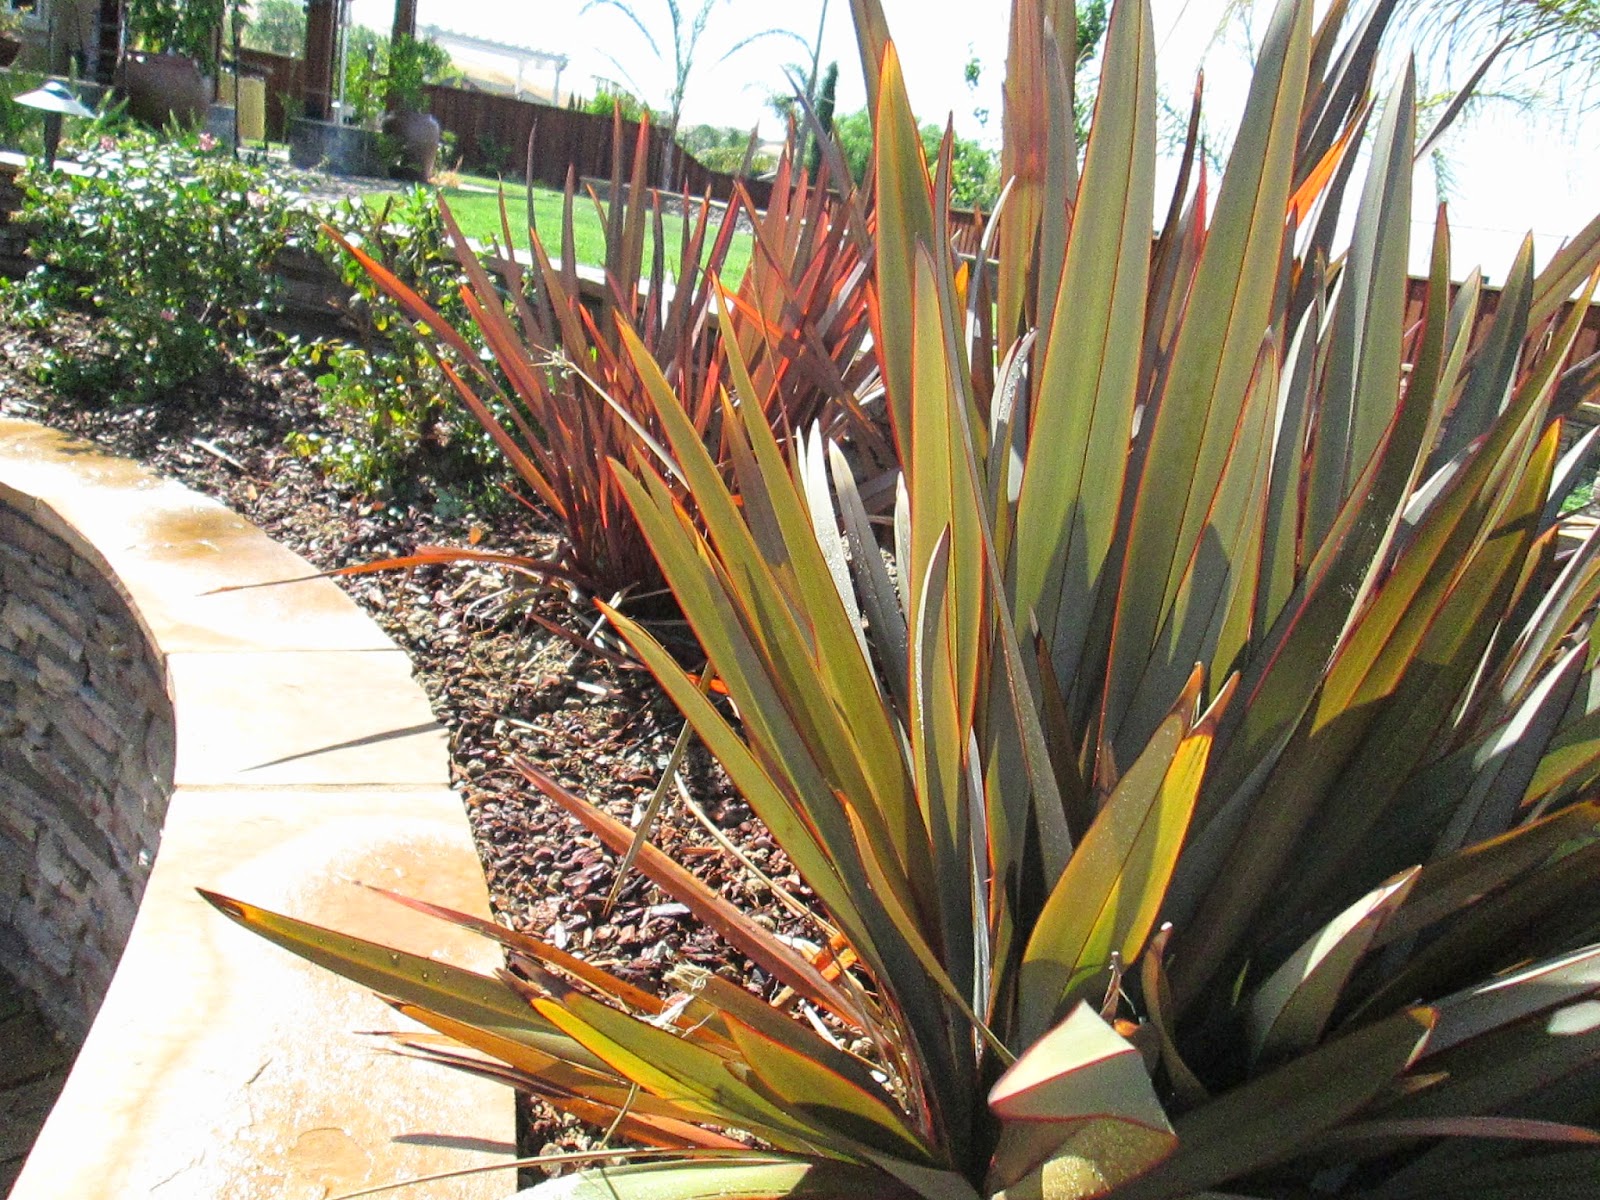
Heres what we found: first, the Jacuzzi Panel was located behind a large plant that prevented it from being serviced and because the Panel was behind such a large plant it wasn't within sight of the Jacuzzi. The next issue was that the Panel was only about an inch off the ground, way too close to the irrigation system not to mention it was also level with the retaining wall bench cap, making this Panel vulnerable to physical damage. The worst part about it was that the Jacuzzi Panel hadn't even been properly secured, in fact the entire Panel leaned forward, resting on the back of the same plant that was concealing it. Needless to say it was just an electrical accident waiting to happen.
After looking over the entire layout and design the homeowner and I decided the best thing to do was to move the Panel from its current location and set it up on the other end of the jacuzzi. An exterior junction box would be added where the existing Panel was in order to extend the conduit and electrical service to the new location. Once that was done, circuits to the Jacuzzi could be rerun from the new location and everything would be back up and running.
Before trenching, the homeowner and I went over the path for the new conduit, he was able to provide me with information about the underground utilities that were installed during the initial construction. After identifying the general area of the utilities we shut off gas to the gas line, turned off the circuit breakers to the Jacuzzi Panel and exterior lighting; then got to work. I immediately located the landscape drip system and low voltage wiring for the lights, both were just below the mulch. Digging began, thankfully the 18 inch depth for the electrical conduit was reached without ever disturbing the gas line or retaining wall drainage.
Normally for digging, using a trencher is much easier and less labor intensive but because of the limited space, landscape and underground obstructions the job needed to be done by hand. After half a days worth of digging the trench was complete, we maneuvered around much of the landscape and ended up only losing one bush. If you happen to be in a similar scenario where trenching by hand is the only choice, make sure to use a pick and trench shovel to keep the dirt removal at a minimum, it will also mean a quicker backfill once the conduits in.
Next was the installation of the electrical PVC conduit. Now before each stick of conduit was glued together we made sure to wipe both ends down, having a clean surface helps the glue bond both surfaces and keep the inside of the conduit sealed. When your gluing PVC together be sure to keep the other end elevated so that dirt and debris stay out of the conduit. Once all the conduit was glued and placed into the trench, it was time for the Jacuzzi Panel to be installed. For this step we needed to add a pressure treated 4"x4" post to mount the Panel to, so instead of digging a post hole and setting the post in concrete we opted to use a 4"x 4" post bracket. A post bracket is an anchor that gets hammered down into the earth at either 24 or 30 inches, depending on which you get. Once that was in the ground we attached a 32 inch pressure treated 4"x 4" post into the bracket and tightened it down. As an added bonus a wood preserve spray was applied to the cut end of the post to help protect the wood. Finally, the Panel was mounted to the new post and the electrical PVC conduits glued to there respective connectors at the bottom of the Panel. The conduit run from where the junction box would be added, to the Jacuzzi Panel was now complete.
Since the new location of the Panel was now in the corner a new conduit run for the circuits to the Jacuzzi was needed. The only left was the concrete retaining wall, using a long masonry bit we drilled a hole through the wall and ran our new conduit. Running PVC conduit from the Jacuzzi Panel through the wall, we then transitioned to a Liquid-tight Metallic Flexible conduit into the bottom of the Jacuzzi. The new circuit conductors were run to the Jacuzzi, once terminated the jacuzzi was closed back up.
Back at the area where the Panel originally was, the exterior junction box was ready to be anchored to the wall. While measuring the conduit stub I noticed the existing conduit with the Jacuzzi Panel circuits, was loose. So after some quick digging the problem was identified, apparently the coupling that the stub was connected to, cracked. It looked like it had been cracked for some time which means water and dirt had been making its way into the conduit. After speaking with the homeowner he offered to help blow out the conduit with his shop vac just in case there was a build up of water in the conduit. Using my time wisely, we replaced the conduit riser that was broken and got the junction box mounted to the back-wall before debris and stagnant water from the conduit was removed.
The new conduit run from the junction box to the Jacuzzi Panel was prepped with a fish tape, new conductors were then pulled through and wired into the Panel. At the junction box, the conductors were spliced together and enclosed within the box. The circuit for the Jacuzzi Panel was turned on, after testing our 240 volt system with a meter we moved on to the circuits from the Panel to the Jacuzzi. Because this was a Jacuzzi Panel, GFCI or Ground Fault Current Interrupter breakers were required to be used. With that being said, the GFCI circuit breakers were installed and the coiled white conductors attached were wired to the neutral bus bar of the Panel. FYI: if any of the 240v circuits going to the Jacuzzi required a neutral, that neutral conductor would need to be tied into the neutral slot provided on the GFCI breaker, and not the neutral bus bar of the Panel.
The circuits for the Jacuzzi were wired to the breakers, once that was done power was checked one last time and then everything was turned on. We let the Jacuzzi go through its cycles, checked the submerged lights and all the bells and whistles, everything worked perfectly. The last step was to backfill the trench and rake over the area to try and blend the landscape. As I mentioned before, because we used a trench shovel there was not as much dirt to refill and the process of refilling went fairly quickly. With the exception of a few areas, and one casualty bush the tiered retaining wall looked good. The homeowner will have to add some mulch to certain parts around the hedges but for the remaining area, it looks just as it did before we started.
During this project we dealt with a few unexpected issues but this is normal for any type of project, indoors or out. Always research before starting any electrical projects and make sure you check your local building department for any necessary permits. Until next time.
M. Hernandez


No comments:
Post a Comment